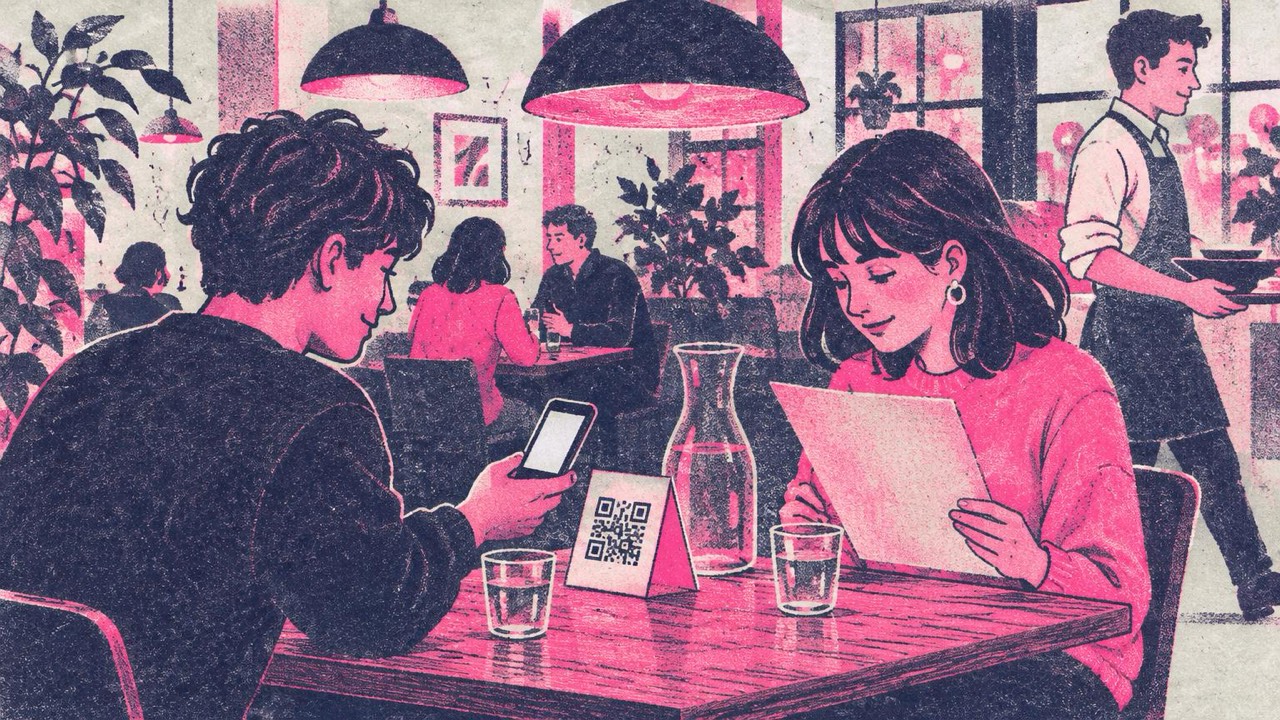
A guest sits down, the waiter is busy at another table, and the first thing they want is the menu. Next comes the Wi-Fi password. At the end, maybe a quick review. Three small QR codes on the table handle all three, and with the right materials they still scan after a month of wiping down tables.
The menu code: link to a page you control
A QR code menu is just a link. The code opens a web page, and that page shows your menu. Make the code on the main generator by pasting the address of that page.
The link matters more than the code. A code made here is static: it never expires, but you cannot change where it points after printing. Prices and dishes change, so do not link to a file you will replace under a new name. Point the code at a page you control, such as yourrestaurant.com/menu, and update that page whenever the menu changes. The printed codes keep working.
On a phone, a few things matter:
- A normal web page beats a PDF. A PDF of your print menu forces guests to pinch and zoom.
- Keep it fast. Large photos at the top slow everything down on mobile data.
- Put allergens and prices on the page, not behind another click.
- Use a short address. Short links make simpler codes that scan more easily when printed small.
Keep a printed menu
Not everyone wants a phone at dinner: flat batteries, poor eyesight, no data, or simply a preference for paper. Keep printed menus and let staff offer one without fuss. The code is a convenience, not a gate.
The Wi-Fi code: no more spelling out passwords
The Wi-Fi QR code generator puts your network name and password into the code. Guests scan it with the phone camera and join the network without typing anything. iPhones and most Android phones read these codes with the built-in camera.
Two things to plan for:
- Use a guest network. Anyone who scans the printed code can join, so give guests their own network, separate from the one your till and office computers use.
- A new password needs a new code. The password is stored in the code itself. If you change it, print new codes the same day.
The code is made in your browser, so the password is never sent to this site. The print layout can also show the network name and password in plain text for guests whose phone does not scan.
The review code: on the bill folder, not the menu
Asking for a review during the starter is too early. Ask when the bill arrives. Make a code with the Google review QR code generator and put it where guests see it while they wait to pay: on the bill folder, a small card that goes with the receipt, or the table tent’s back side.
Keep the wording plain: “Tell us how we did” or “Enjoyed your visit? Leave us a review”. Google’s rules do not allow rewards for reviews, so no free dessert in exchange, and do not hand the card only to tables that look happy. Give it to everyone. The Google review QR code guide explains how to find your review link.
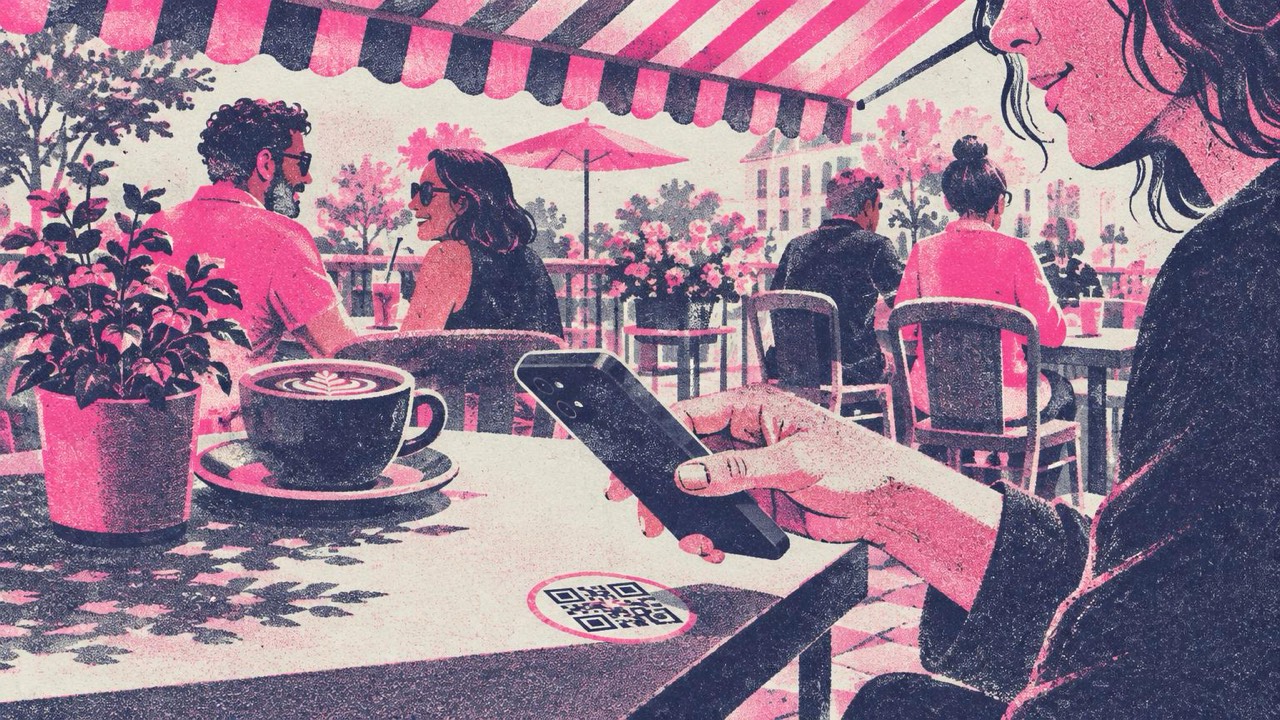
Where to put the codes on the table
Table tents
A table tent is a folded card that stands up by itself, readable from both sides of the table and easy to swap. Every generator on this site has a Print button with a table tent layout: pick it, add a headline such as “Menu” or “Free Wi-Fi”, print, fold along the line, and stand it on the table. One tent can carry the menu code on one side and the Wi-Fi code on the other.
Stickers that survive cleaning
Stickers stay put. The print dialog has a stickers layout that fills a sheet with codes and cut lines. A few points so they last:
- Use waterproof vinyl sticker paper, or protect paper stickers with a clear matte overlay. Tables are wiped many times a day.
- Matte, not glossy. Glossy laminate reflects ceiling lights and can hide part of the code.
- Put them on a corner, not where plates and glasses slide across.
- Keep spares and replace scratched stickers.
Terrace and outdoor light
Outside, glare and shade cause trouble. Sun on a glossy surface hides the code, and a parasol can throw a hard shadow across half of it. Choose matte materials, angle table tents away from direct sun, and test at midday and in the evening with the terrace lights on. Keep the code dark on a light background; light-on-dark codes look stylish but many phones struggle with them.
How big to print
The print guide has a simple rule: the code should be at least one tenth of the scanning distance, and never smaller than 2 cm. A guest scans a table code from about 40–60 cm, so:
- Table tent or menu: 5–7 cm wide.
- Table sticker: at least 4–5 cm. Smaller stickers save space but scan less reliably in poor light.
- Poster at the entrance, read from a couple of metres: 20 cm or more.
Leave the white border around the code. It needs a quiet margin about as wide as four of its small squares. Cutting it off is the most common reason printed codes fail. Print at 100% (“Actual size”), not “Fit to page”.
Mistakes to avoid
- Linking to a file you will rename. The codes stop working the day you upload “menu-new.pdf”.
- One code doing everything. One job per code is easier than a page of links guests must search.
- Heavy styling. A logo or a coloured design is fine, but check the preview warning on the generator, which tells you when a style makes the code hard to read.
- No test. Print one copy, put it on a real table and scan it with two or three phones before printing fifty.
- No plan B. Where the signal is weak, the menu code is useless. Keep paper menus nearby.
Checklist
- Menu page at an address you control, fast on a phone
- Printed menus available for guests who prefer them
- Separate guest Wi-Fi network and its code
- Review code on the bill folder or receipt card, plain wording, no rewards
- Table tents or waterproof matte stickers, 5–7 cm codes
- White border kept, printed at actual size
- Tested on several phones, indoors and on the terrace