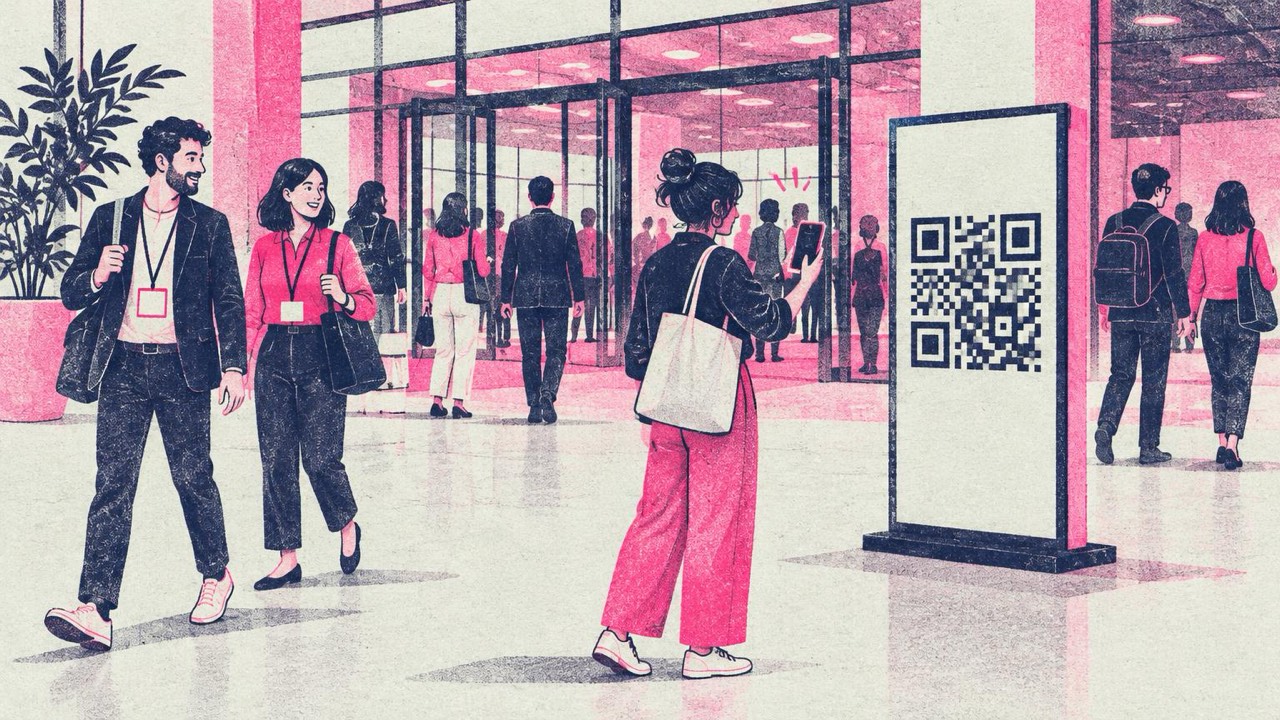
The doors open at nine, two hundred people arrive in twenty minutes, and the registration desk hears the same questions over and over: where is room B, what is the Wi-Fi password, will the slides be shared. Printed QR codes answer them, and the desk can get on with handing out badges.
The schedule and floor plan code
The most useful code at any event opens the programme. Make it on the main generator with the address of your schedule page.
Point it at a page you control, not at a PDF you will replace. Codes made here are static: they never expire, but the address inside them cannot change after printing. Sessions move and rooms swap. If the code opens yourevent.com/schedule, you edit that page and every printed code stays correct.
What the page should show on a phone:
- Today’s sessions first, with times, room names and speakers.
- The floor plan as an image on the same page, or one tap away. Name rooms exactly as the signs in the building do.
- Changes at the top. A short “Updates” line saves people walking to a room that moved.
Put this code on the back of the badge, on the welcome sign, and at the door of each hall.
Wi-Fi at registration and on lanyards
The Wi-Fi QR code generator stores the network name and password in the code. Attendees point the phone camera at it and join without typing a long password from a slide.
Place it where people first need it: a sign at registration and a small sticker on every lanyard or badge, so nobody has to walk back to the entrance. A few points:
- Use the event network, not the venue’s staff network. Anyone who sees the code can join.
- Get the final password from the venue before printing. A password changed the morning of the event means reprinting.
- Print the network name and password as text next to the code for laptops, which cannot scan. The print layout can show both.
The code is made in your browser, so the password is not sent to this site.
Speaker slides and feedback
Slides
Set up one page that lists every talk with its slides, and add files as speakers send them. A code on each closing slide, or on a sign by the stage, lets people grab the deck while the speaker is still taking questions.
Feedback
Feedback comes in when asking is easy and the session is fresh. Two options:
- A form link. Make a short form in any form tool and put its address in a code on the main generator. Five questions at most.
- An email. The email QR code generator opens a draft with your address and a subject such as “Feedback: Day 1” already filled in. The attendee writes a line and taps Send.
Show the feedback code at the end of each session and on exit signs.
Networking: contact cards on badges
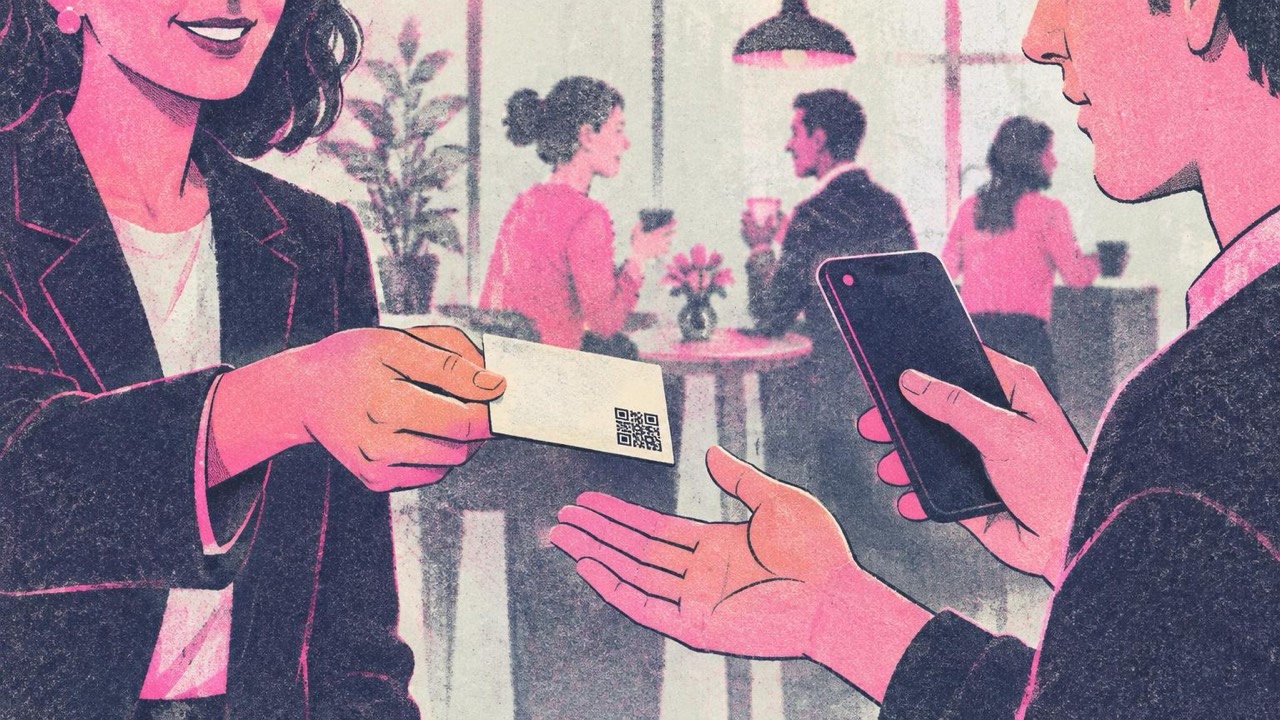
At a conference, people swap details dozens of times a day. Put a contact code on each badge and the exchange takes one scan. The vCard QR code generator stores name, company, phone, email and website in the code, and the phone offers to save it as a contact.
To do this for every attendee, collect contact details at sign-up with clear consent, and let people choose what goes on the badge. Some will want only a work email. Keep the fields short: every extra line makes the code denser and harder to scan at badge size. A badge code of 3–4 cm scanned from arm’s length works well.
If someone prefers to share a profile instead, a LinkedIn QR code on their own badge or card does the job.
Directions to the venue
Put a location QR code on the invitation, the confirmation email and the printed ticket. It opens the address in Google Maps or Apple Maps, so attendees get directions without copying an address. For a large site, pin the entrance you want people to use, not the middle of the building, and add a second code for parking if it is somewhere else.
A note on tickets
This site makes static codes. It does not issue tickets, check people in or validate entry, and it cannot tell you who scanned what. Use your ticketing system for admission. The codes here are for information: schedule, Wi-Fi, directions, contacts.
Sign sizes for halls and corridors
The print guide rule applies everywhere: make the code at least one tenth of the scanning distance, never under 2 cm.
- Badge or lanyard sticker, scanned from 30–40 cm: 3–4 cm.
- Registration desk sign, scanned from about 1 m: 10 cm.
- Hall door or corridor sign, scanned from 2–3 m: 20–30 cm.
- Banner by the stage, scanned from the middle rows: plan on 50 cm or more, or put the code on the screen instead.
Every generator has a Print button with a sign layout for posters and a stickers layout for badges. Use SVG for large prints, keep the white border around the code, print on matte stock and mount signs at chest height, where crowds do not block them.
Mistakes to avoid
- One code for everything. A Wi-Fi code that also needs to be a schedule link cannot be both. One job per code, with a label saying which.
- No label. “Schedule”, “Wi-Fi”, “Slides” in large letters next to each code.
- Testing only on screen. Print one of each, stick it where it will go, and scan it with two or three phones.
- Codes on a projector only. People in the back row cannot scan a 20 cm code on a screen 15 m away.
Checklist
- Schedule and floor plan page at an address you control
- Event Wi-Fi code at registration and on every badge
- One slides page, one code on each closing slide
- Feedback form or email code at session ends and exits
- Contact-card codes on badges, with attendees’ consent
- Location code on the invitation, pinned to the right entrance
- Signs sized at 1/10 of the scanning distance, matte, labelled
- Every printed code tested in the venue