Your guests get a beautiful printed invitation, and then they have to type a long wedding website address into their phone to RSVP. At the venue, someone asks where to upload photos, someone else asks for the Wi-Fi, and an aunt is lost on a country road. A QR code fixes each of these with one scan, as long as each code does one clear job.
Seven wedding QR code ideas
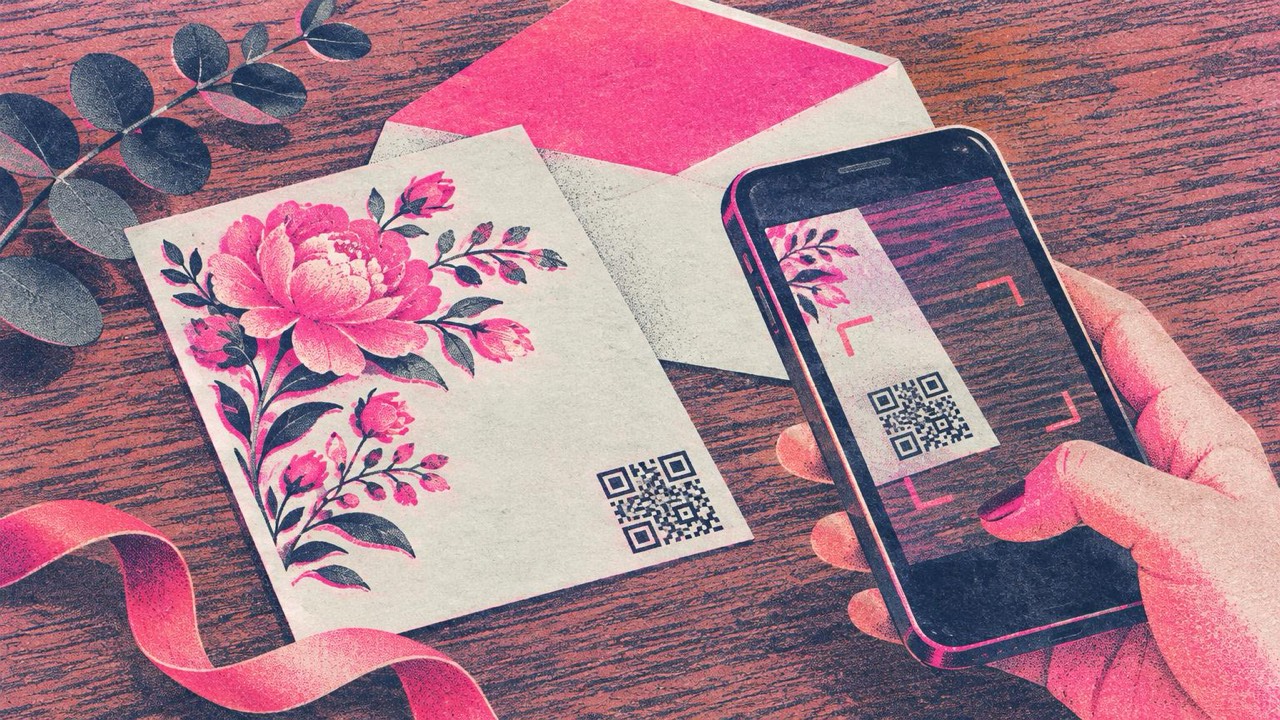
- RSVP or wedding website on the invitation. Put the link to your RSVP form or wedding website in a small code on the back of the card. Guests reply in seconds instead of typing a URL. Make it with the link generator.
- Venue location. A location QR code opens the venue on the map, ready for directions. Put it on the invitation or the details card, especially for rural venues with vague addresses.
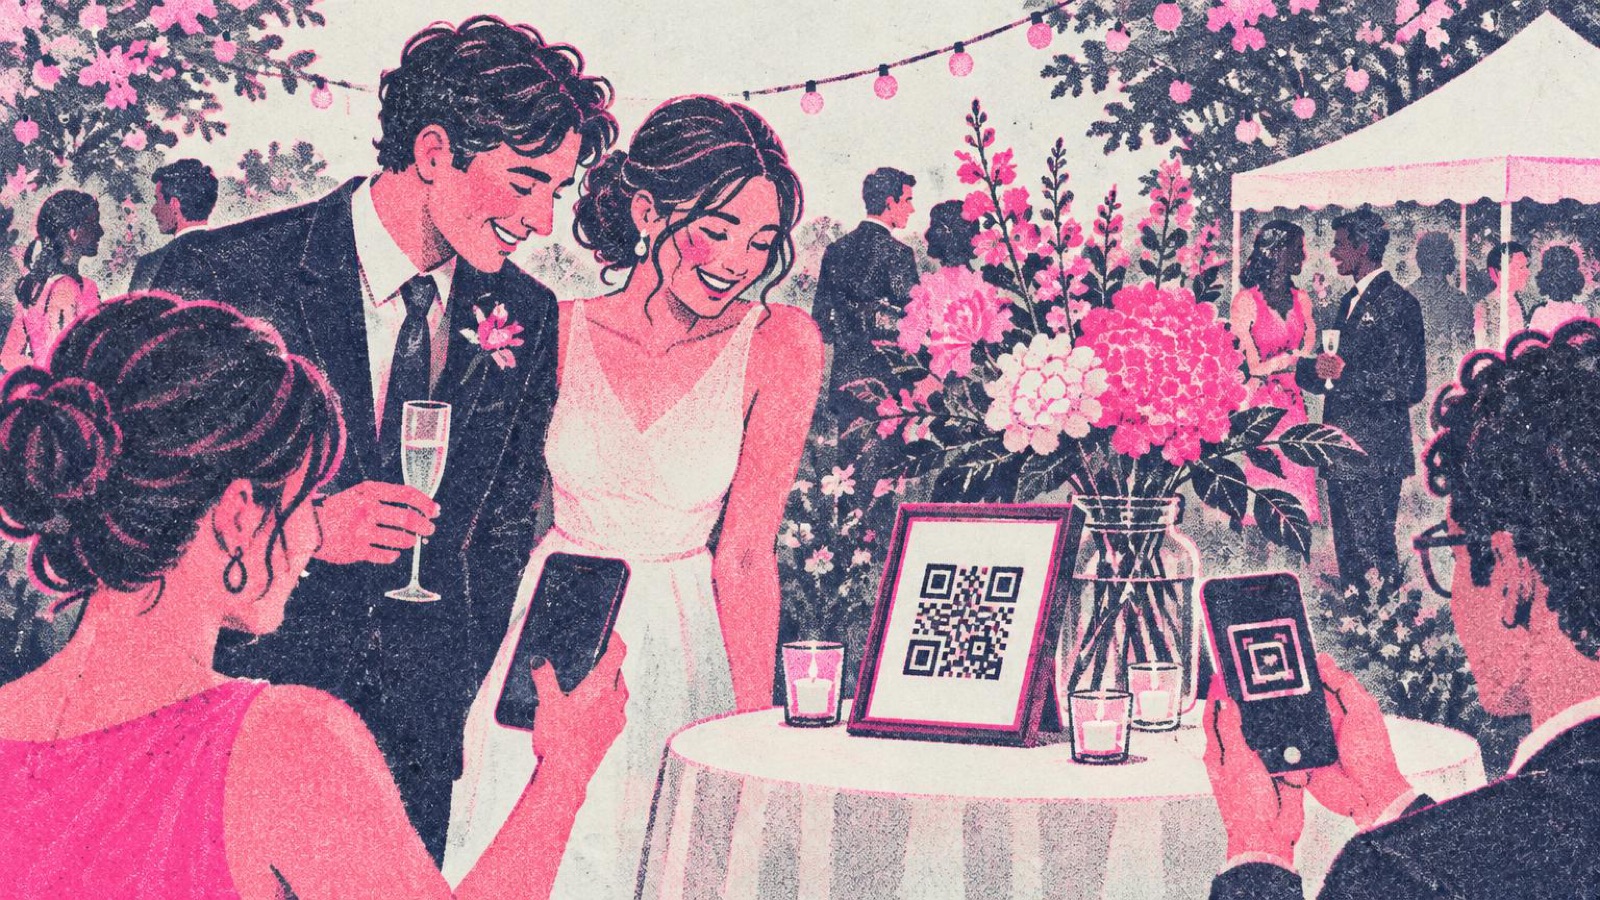
- Shared photo album at the reception. Create a shared album in the photo service you use and put its upload link in a code on each table. Guests add their photos the same evening, and you get pictures from angles your photographer never saw.
- Wi-Fi for the venue. If the venue has guest Wi-Fi, a Wi-Fi QR code connects phones without anyone reading out the password. Useful when mobile signal is weak, which is common in barns, castles and countryside venues.
- Schedule and menu. A code on the welcome sign or table card can open a page with the timeline of the day, the menu with allergens, or the seating plan.
- Gift registry. If you use a registry, link to it from the website rather than printing it on the invitation. If you do want it in print, a small code on a separate insert keeps it discreet.
- Thank-you card with photos. After the wedding, send thank-you cards with a code that opens the album or a gallery from your photographer. It turns the card into something guests keep.
What to put in each code
Every code on this site is static: what you put in it is printed for good, and it never expires. That is ideal for a wedding, since nothing should change, but plan for it:
- Link to pages you control. Invitations go out months before the day. If the code points to your wedding website, you can update the schedule, add the photo album link later or fix a typo on the page, and the printed code keeps working.
- Keep links short. A short link makes a less dense code that scans easily when printed small. Avoid long links with tracking parameters copied from the address bar.
- One code, one job. Do not put three codes on one card. If the invitation needs the RSVP and the map, link the RSVP page and put the map on that page.
- Wi-Fi codes contain the password. If the venue changes it before the day, the code stops working. Ask the venue for the guest network details close to the date.
You can style each code to match your stationery: rounded dots, your colour palette, a monogram as a logo in the middle, or a frame with a short label. With Photo QR you can even turn an engagement photo into the code itself. Simple pictures with a clear subject work best, and the generator checks as you edit whether the result still scans.
Where to place them
- Invitation or details card: the RSVP code and the location code, on the back or in a corner, with a short line of text saying what each does.
- Welcome sign at the entrance: the schedule or the website.
- Each reception table: the photo album code, on a table tent or a small framed card next to the centrepiece.
- Bar or lounge area: the Wi-Fi code.
- Thank-you card: the photo gallery.
Always add a few words next to each code, such as “Upload your photos here” or “Directions to the venue”. Guests scan what they understand.
How big to print
The rule of thumb from the print guide: the code should be at least one tenth of the scanning distance, and never smaller than 2 cm (0.8 in).
| Where | Typical code width |
|---|---|
| Invitation or thank-you card | 2–2.5 cm (0.8–1 in) |
| Table tent or framed table card | 5–7 cm (2–2.8 in) |
| Welcome sign seen from 1.5 m | 15 cm (6 in) or more |
The generator has a print option with a sign, a table tent and sticker sheets, so you can print table cards at home. Print at 100% (“Actual size”), not “Fit to page”. Download SVG if your stationer is printing the invitations, because it stays sharp at any size.
Mistakes to avoid
- Light codes on dark or pastel paper. Blush pink on ivory looks lovely and scans badly. Keep the code dark on a light background with strong contrast.
- Trimming the white border. Leave a light margin around the code at least as wide as four of its small squares. Designers often crop it to fit the layout.
- Gold foil and glossy finishes. Foil and laminate reflect light, especially under fairy lights. Print the code in flat ink on matte paper.
- Not testing the printed proof. Scan the proof with two or three different phones before you approve 150 invitations.
- Linking to a page that needs a login. Make sure the album and website open for anyone with the link, on a phone, without an app.
- A code with no label. A bare square on a table looks like decoration.
Checklist
- Decide which codes you need: RSVP, location, photo album, Wi-Fi, schedule, thank-you gallery
- Point codes at pages you control, so the content can change after printing
- Keep links short and open them on a phone in a private window
- Get the venue’s guest Wi-Fi details close to the date
- Dark code, light background, white border kept
- Size: 2–2.5 cm on cards, 5–7 cm on tables, bigger for signs
- Scan a printed proof with several phones before printing them all
- Add a short label next to every code