Every curator knows the problem. The object has a long, interesting story, but the label next to it has room for a title, a date, a material and two sentences. Visitors read different languages, some need larger print, some would rather listen than read, and a few want everything.
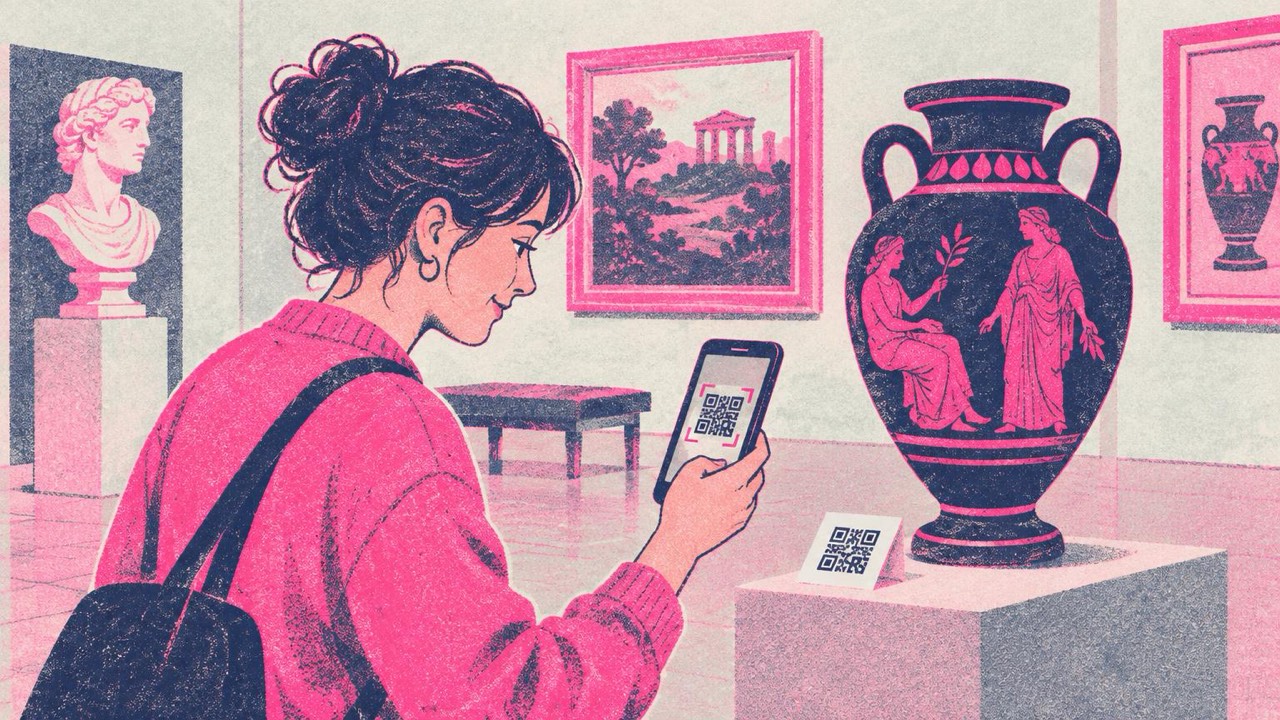
A QR code beside the label lets the wall stay calm while the extra layers live on visitors’ phones. It works in a national museum, a two-room local gallery, a historic house or an outdoor trail.
What to put behind the code
Each code opens one web page. Good things to link to:
- Longer label texts: the full story of the object, the maker, where it was found.
- Translations: the same text in the languages your visitors speak, with a language switch at the top.
- Audio guide tracks: a short recording for that stop, playable in the browser. Visitors bring their own headphones.
- Video: a conservator at work, the object being used, an interview with the artist.
- A trail or map: the next stop, a themed route through the collection, the way to the café and toilets.
- Accessible versions: large-print and easy-read texts, transcripts for audio and captions for video.
- A donation or membership page: at the exit or by the shop, where people have just enjoyed the visit.
- Visitor Wi-Fi: thick walls and basements often mean weak signal. A Wi-Fi QR code at the entrance lets visitors join a separate guest network without typing a password.
Make each code in the main generator. It is free, needs no account, and the codes never expire.
Never make essential information scan-only
Not everyone has a phone, a charged battery, data, or the wish to use one in a gallery. The printed label must still work on its own: what the object is, who made it, when, and why it matters. Safety notices, opening hours, directions and accessibility information belong on paper or on the wall too.
The code adds depth. It should never be the only way to understand the room.
Point codes at pages you control
Exhibitions change and websites get rebuilt, but printed labels and engraved trail posts stay up for years. A printed code cannot be edited, so link each one to a stable address on your own site, such as yourmuseum.org/stop/12, rather than to a file-sharing link or an audio platform you might leave.
A simple pattern works well: one page per stop, numbered to match the label. When the text changes or a translation is added, you update the page and the label stays as it is. When an exhibition closes, keep the pages online with a note and a link to what is on now, because visitors take photos of labels and scan them later.
Placement, light and glass
- Eye level, beside the label. Put the code in the same place on every label, for example bottom right, so visitors learn where to look. Avoid codes on low plinths that force people to bend.
- A consistent icon and line. Use the same small symbol and wording throughout, such as “Scan for more” with a headphone icon for audio stops. Better still, name the thing: “Listen (2 min)”, “Read in Spanish”, “Large print”.
- Watch the lighting. Gallery lights are often dim and angled at the object. A code in deep shadow or in a spotlight hotspot can fail. Test it in the room, at opening-hours lighting.
- Avoid glass and gloss. A code behind a vitrine pane or on a glossy laminate picks up reflections. Put the code on the outside of the case, on a matte label.
- Leave a clear margin around the code, at least four of its small squares wide.
Size for the viewing distance
The rule from the print guide: the code should be about one tenth of the distance it is scanned from, and never smaller than 2 cm (0.8 in).
| Where | Typical distance | Code width |
|---|---|---|
| Object label or caption | 30–50 cm | 3–5 cm (1.2–2 in) |
| Introductory wall panel | 1–1.5 m | 10–15 cm (4–6 in) |
| Entrance or Wi-Fi sign | 1.5–2 m | 15–20 cm (6–8 in) |
| Outdoor trail post | 50 cm–1 m | 5–10 cm (2–4 in) |
Short, clean addresses make simpler codes, which scan more easily at small sizes. Download SVG for the label printer or sign maker so the code stays sharp.
Small galleries, heritage sites and outdoor trails
You do not need an app or a budget to do this. A small gallery can print codes on its existing labels with an office printer. A historic house can put one code per room in a laminated room sheet, or better, on a matte card.
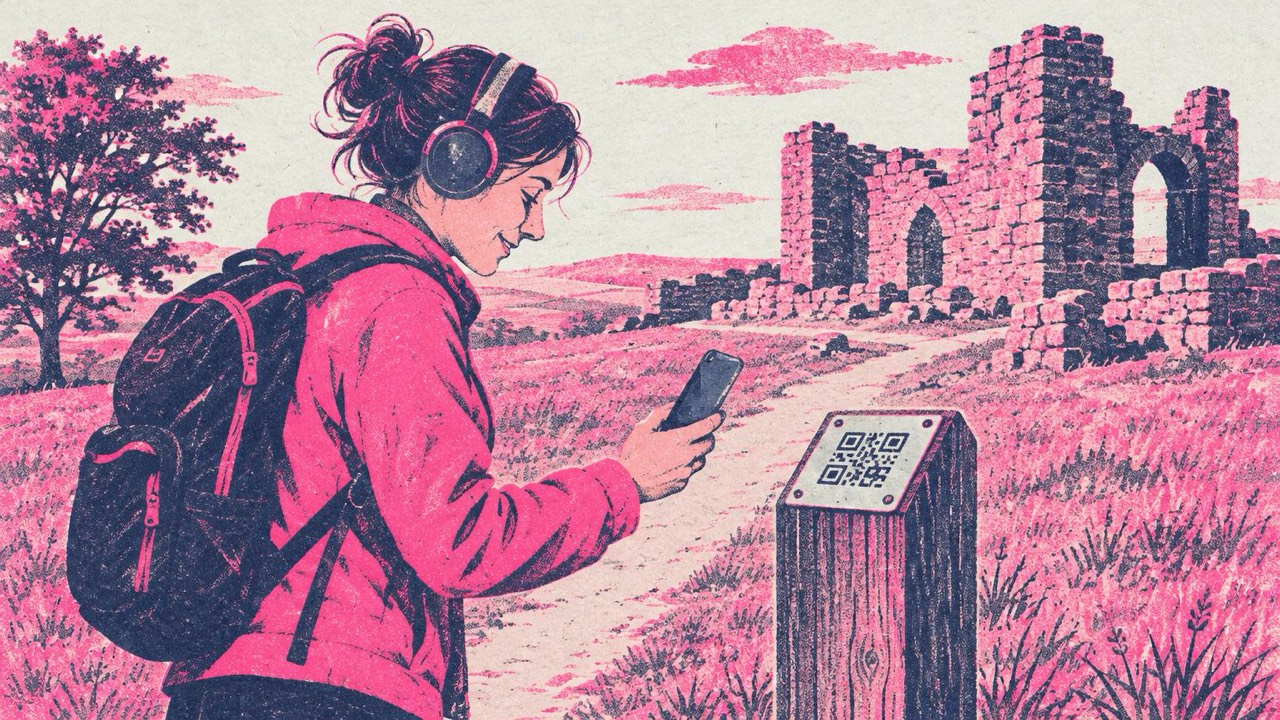
Outdoors, the code has to survive weather. Use engraved or printed aluminium plates, or UV-resistant vinyl on a post, and choose plain dark-on-light codes without colour gradients. Check posts each season for fading, scratches and stickers. Rural sites often have no signal, so keep pages light, mostly text and small images, and say on the post when a stop has a large audio or video file.
Checklist
- One page per stop on your own site, numbered to match the label
- Printed label still complete without the code
- Translations, audio, video and large-print or easy-read versions where useful
- Wi-Fi QR code at the entrance if signal is weak
- Same position, icon and wording on every label
- Eye level, out of glare, outside the glass, on matte material
- Size from the print guide, never under 2 cm
- Every code tested in the real room or on the real trail with several phones